


There are various types of databases such as NoSQL, cloud, object-oriented, relational and so on and so forth but it can be pretty hard to understand the key concepts of them when you are a newbie. For the amateur coders, MongoDB is one of them. It is an open-source, cross-platform, document-oriented NoSQL database and it is quite popular nowadays. According to "DB-Engines Ranking", it is the 5th popular database in the world.

In this article, you're going to able to connect to MongoDB Atlas and create your collections very easily. So without further ado, let's get started.
1-) Install Mongoose
Mongoose is an Object Data Modeling library for MongoDB and Node.js. In order to establish connection to between MongoDB Atlas and your local machine, we're going to be using it. Type "npm i mongoose" or "npm i mongoose --save" in the command line, in order to install these packages.
2-) Get your MongoDB URI
We need the URI to connect via mongoose. So login to your MongoDB account and in the "Database" section, click "Connect". Then, select "Connect your application", and copy the URI. URI format should be like this:

After replacing your username and password in the URI, create a .env file and paste the URI into that file. Because we don't want anyone to see our password and personal URI. Also, do not forget to add .env file into .gitignore file. Do not push your repository to GitHub without doing it.
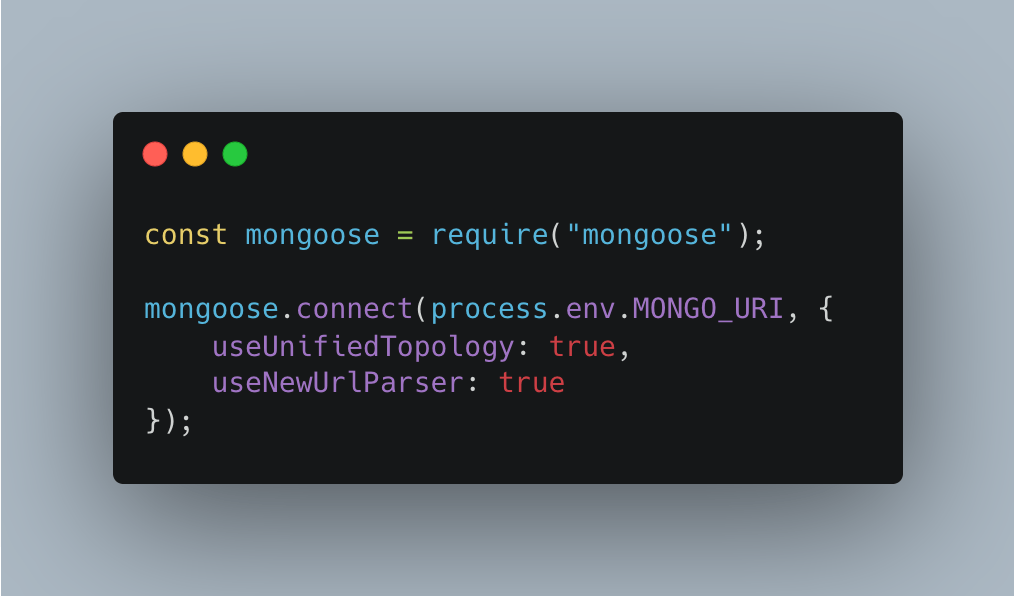
3-) Require Mongoose And Establish Your First Connection
Use mongoose.connect() method to connect to MongoDB and reach to your personal URI using "process.env.VARIABLE_NAME"
4-) Model Your Database
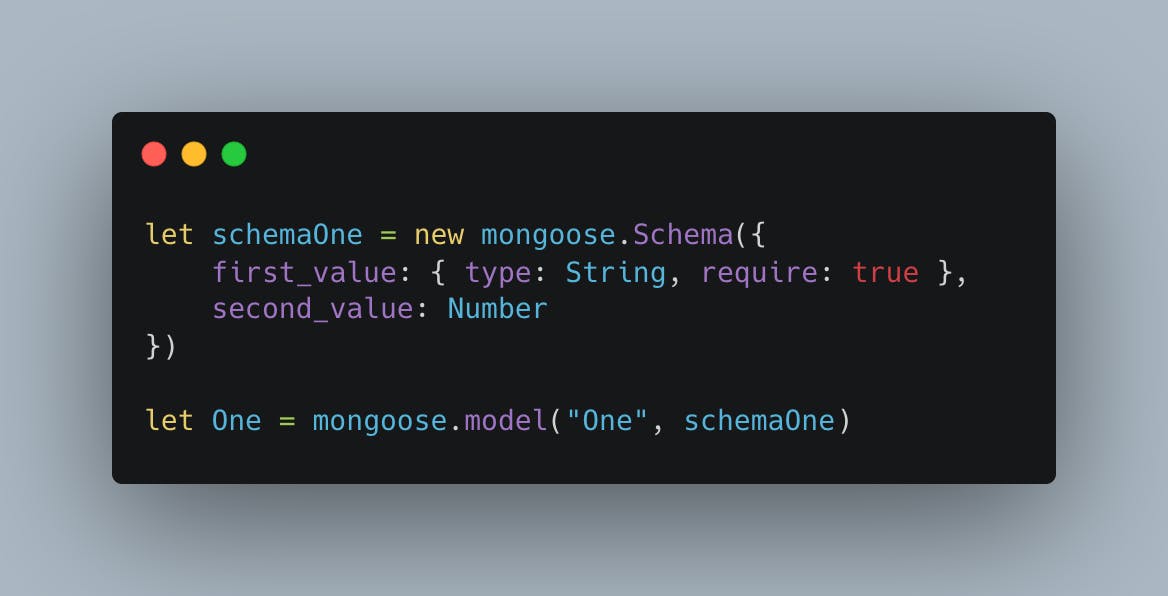
In the process of modelling our database, we'll use "Schema". Schema in mongoose defines the structure of the documents and it is essential to use it.
As you can see from the bottom, I've named my variable "schemaOne" (Of course you can name it whatever you want.) and created my schema with various values. After that, I've modelled it using mongoose.model()
5-) Save Your Data
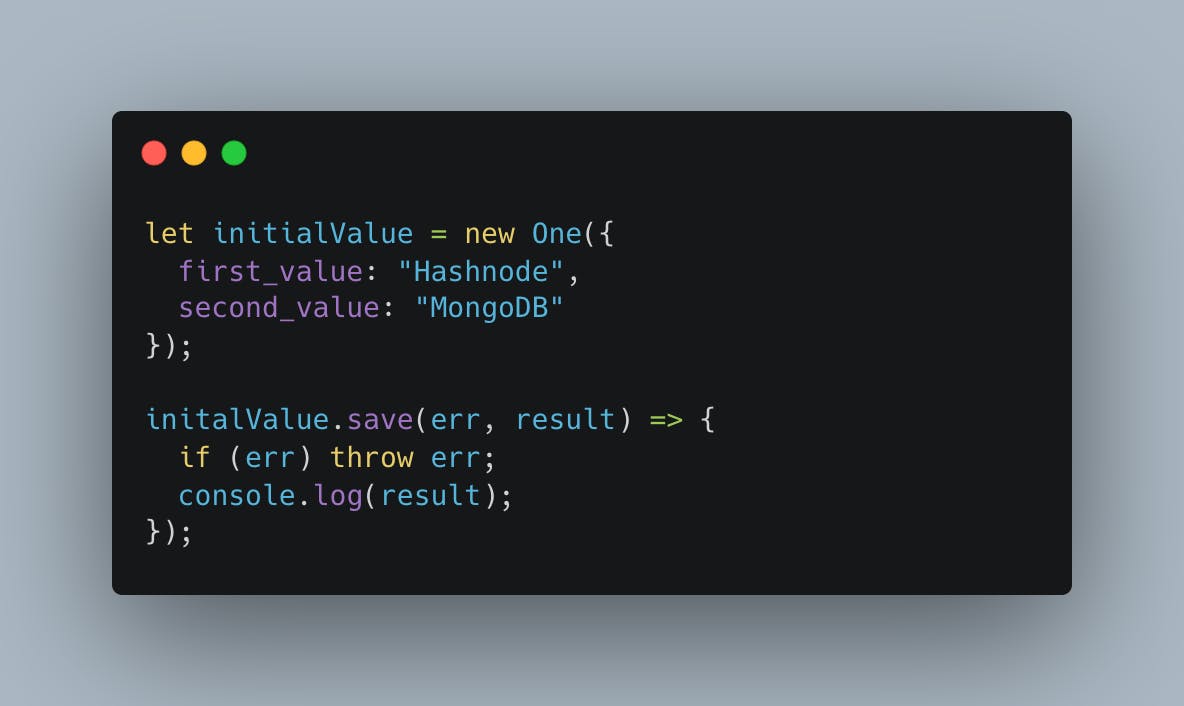
We just modelled our database but haven't add data yet. Using "save()" method, we can accomplish that.
First I've created a variable called "initalValue", set its "first_value", "second_value" to "Hashnode" and "MongoDB". Once you set your own values for keys, use "save" method in order to save them into your database. Moreover, use error handling to see possible errors as I did.
So, that was it. You successfully connected to MongoDB. Visit mongoose website to explore more methods. Mongoose